Ben Nevis in Winter
Hiking Ben Nevis in Winter.. what do bring, what to leave behind..
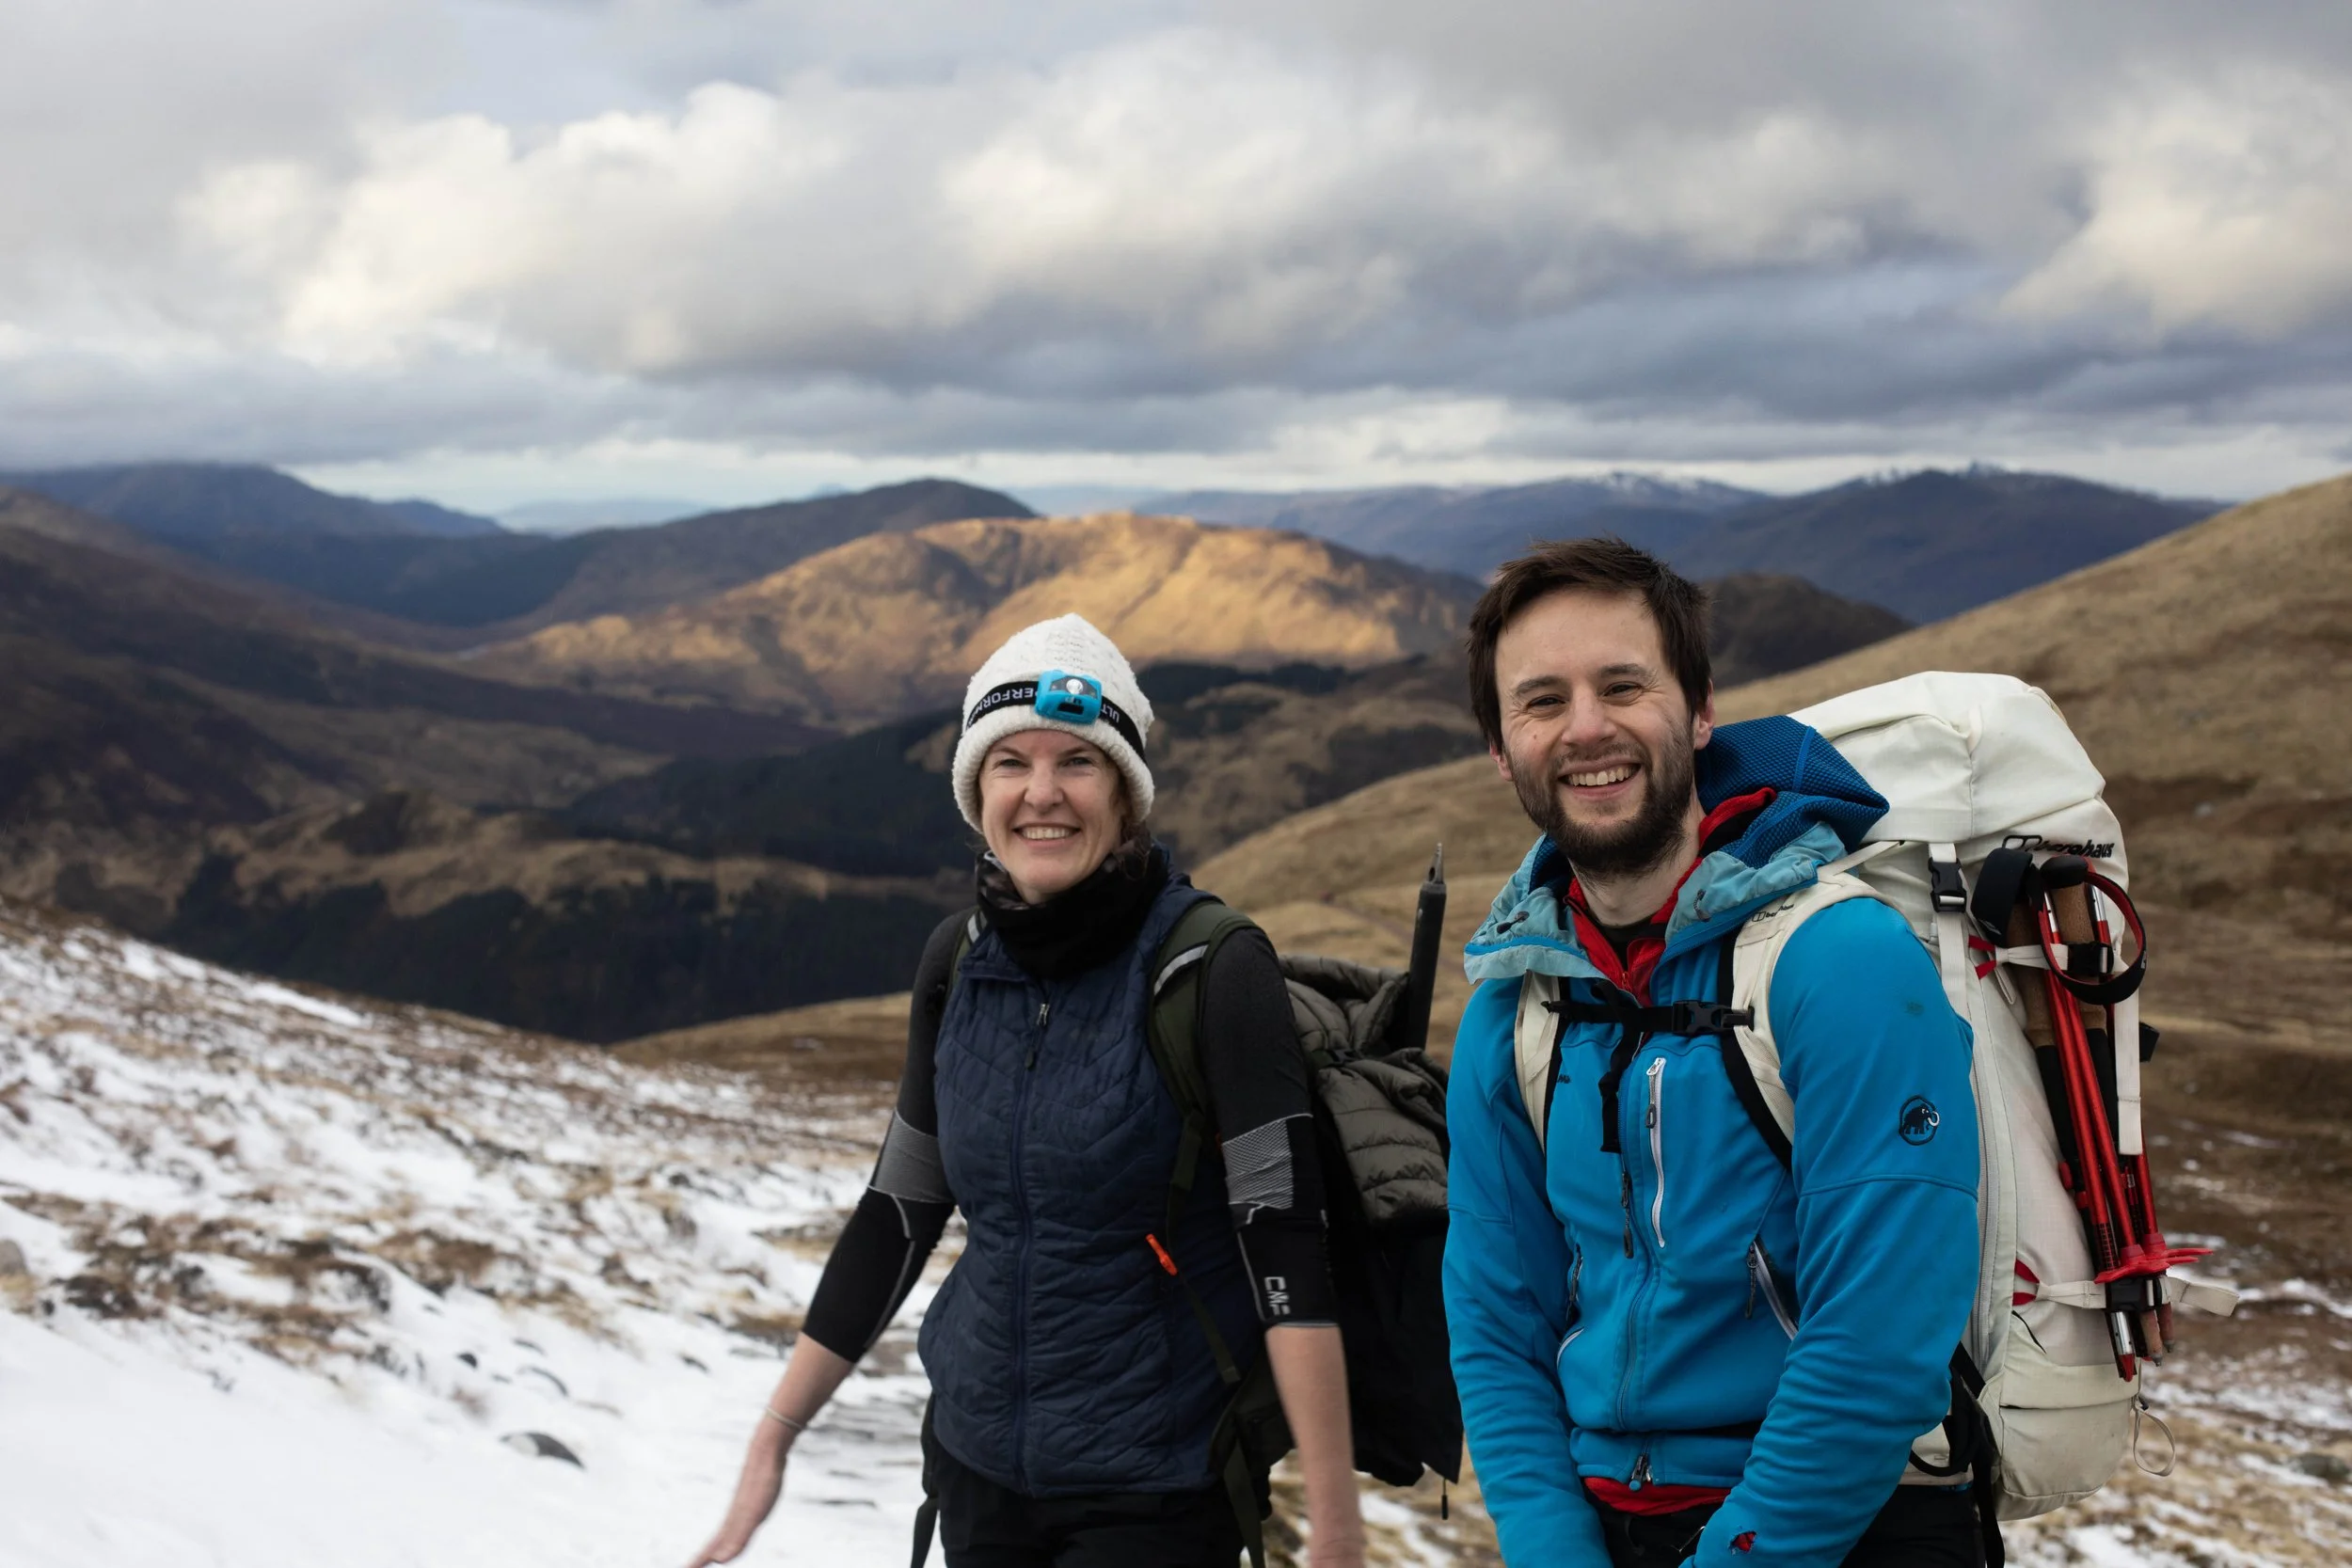
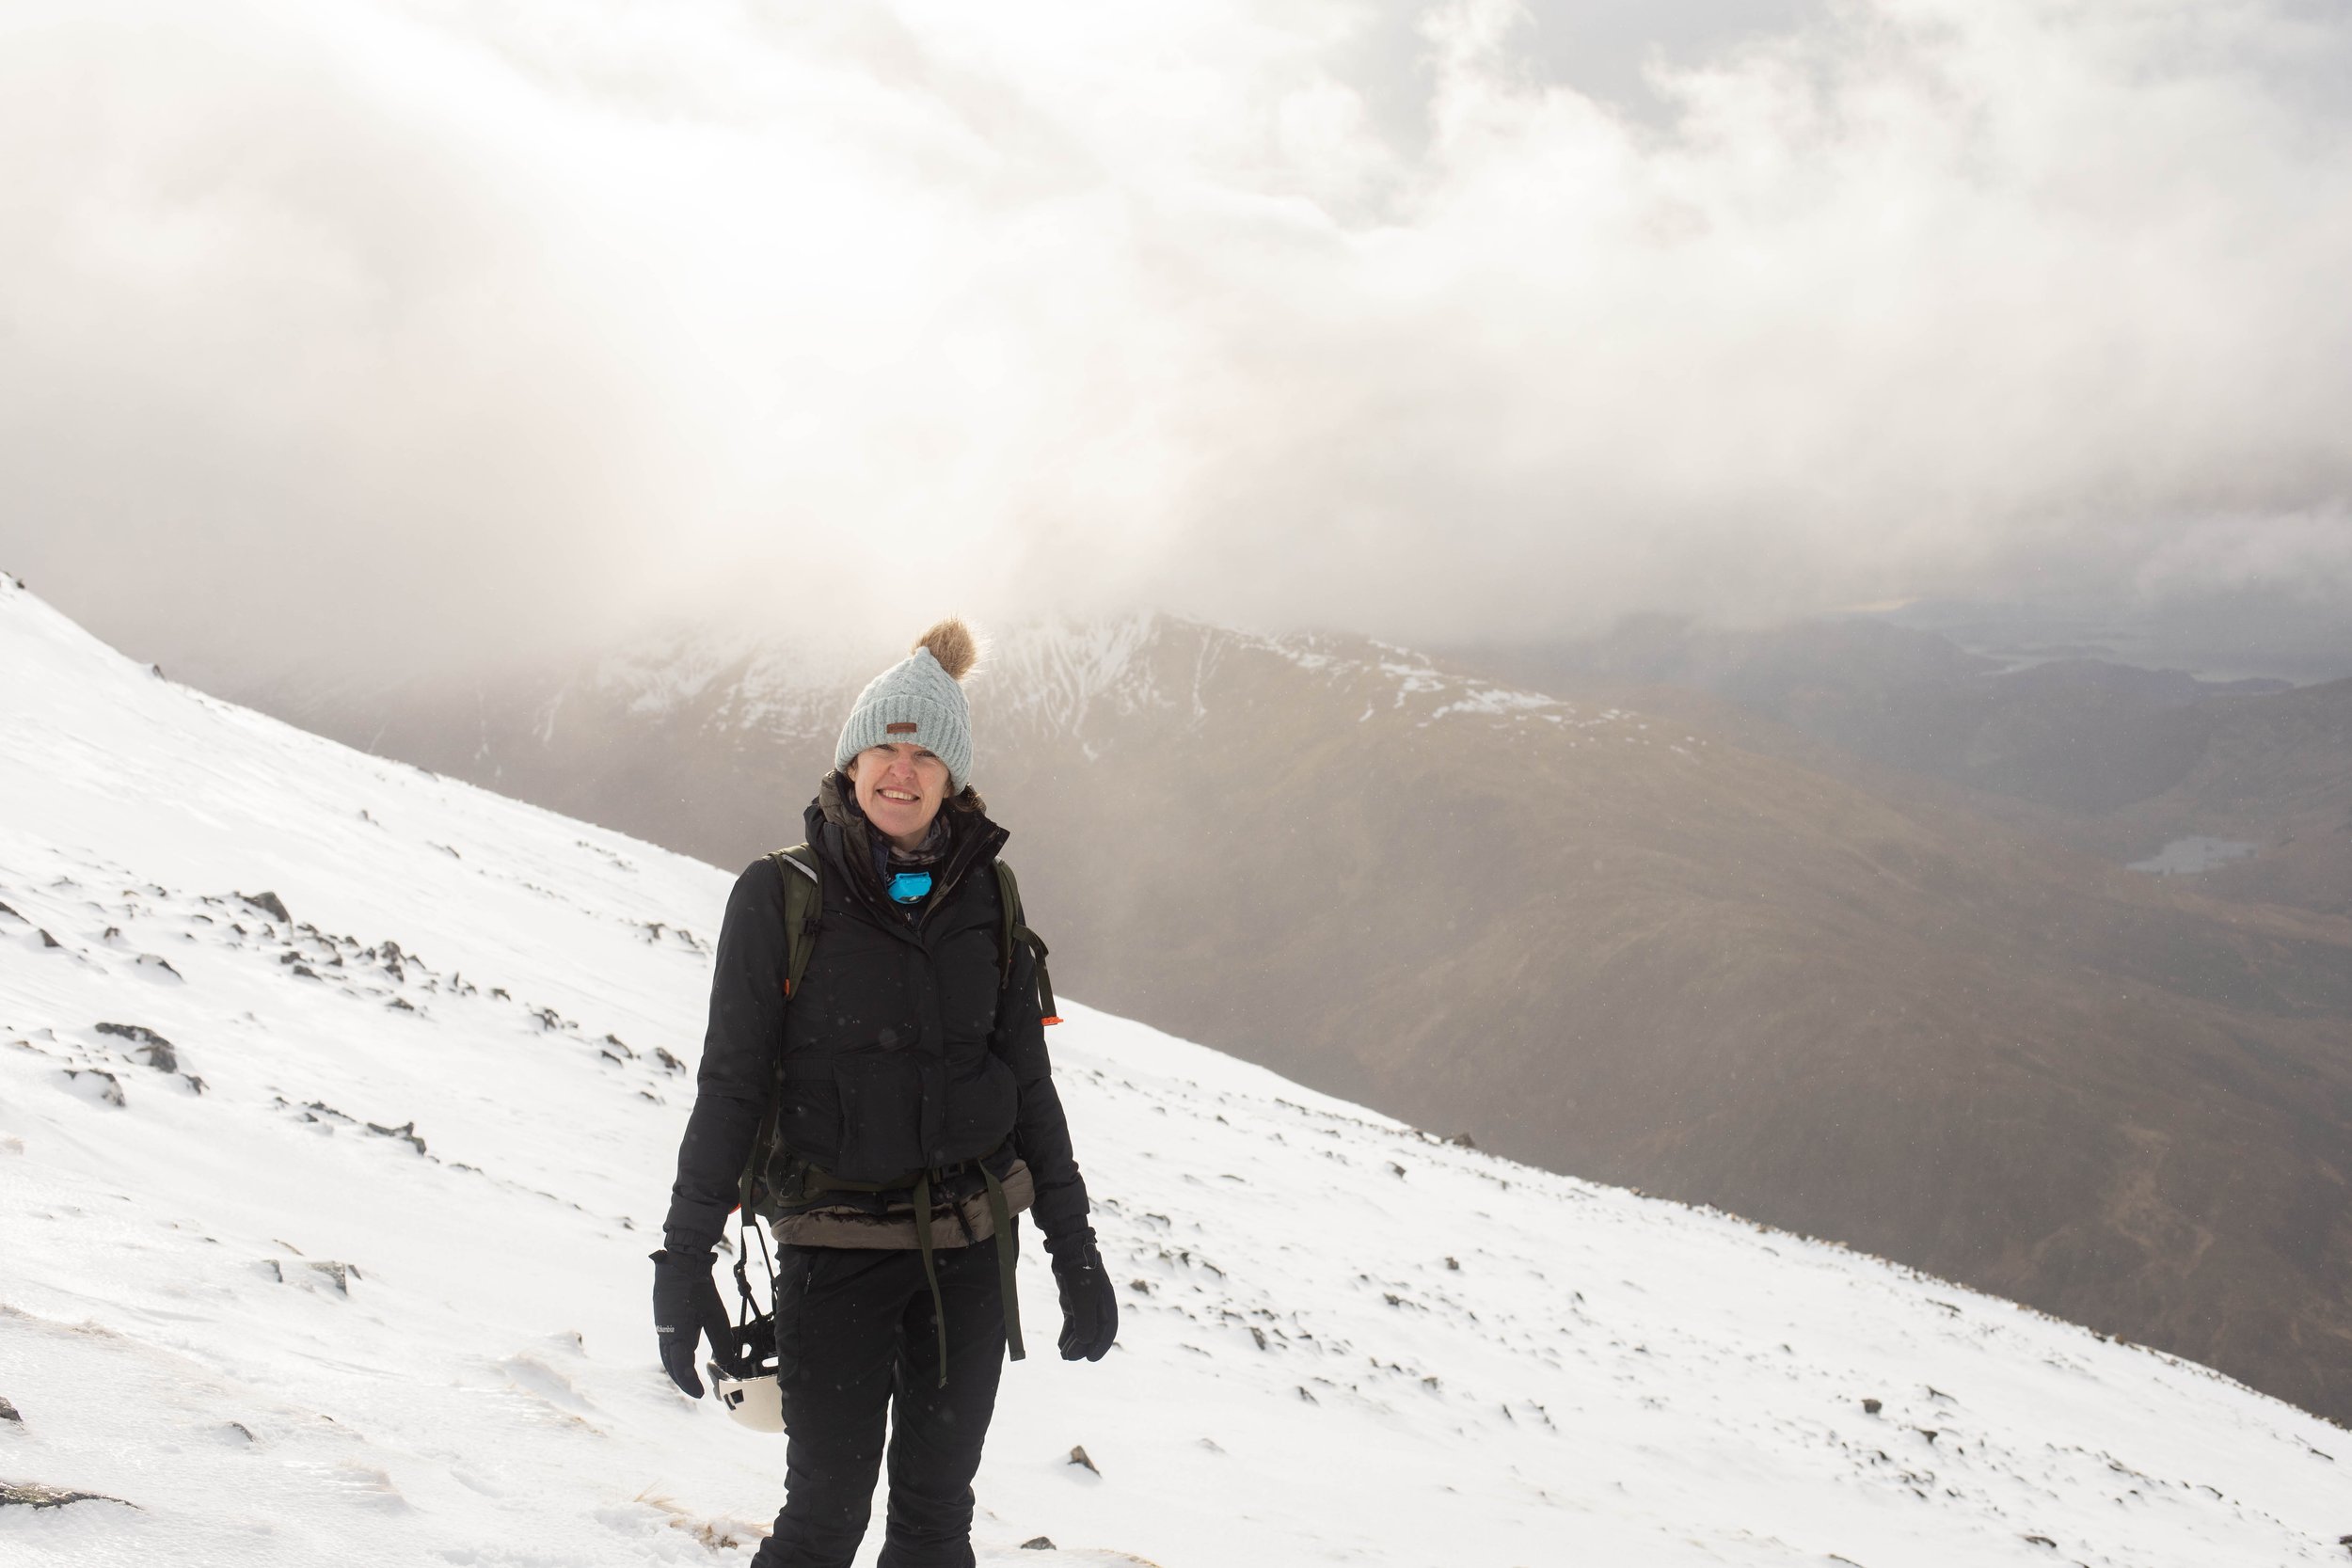
Hiking Ben Nevis with Chris from RAW Adventures
Climbing Ben Nevis in Winter: What to Expect
I’d always wanted to climb Ben Nevis. At 1,345 metres, it’s roughly the height of an average Alpine mountain town, but in bonnie Scotland, especially in winter, it’s a different beast.
Bad weather can hit Ben Nevis at any time of year, so I figured a random Saturday in February was as good a day as any. Wind is the biggest problem, and thankfully it stayed away- mostly.
I’m a fan of the short trip: go somewhere, do something cool, go home. The appeal is even greater if you can reach your destination quickly although that’s rarely the case with mountain climbing. For Ben Nevis, that meant a flight to Glasgow, followed by an Ember bus to Fort William, which took around two and a half hours.
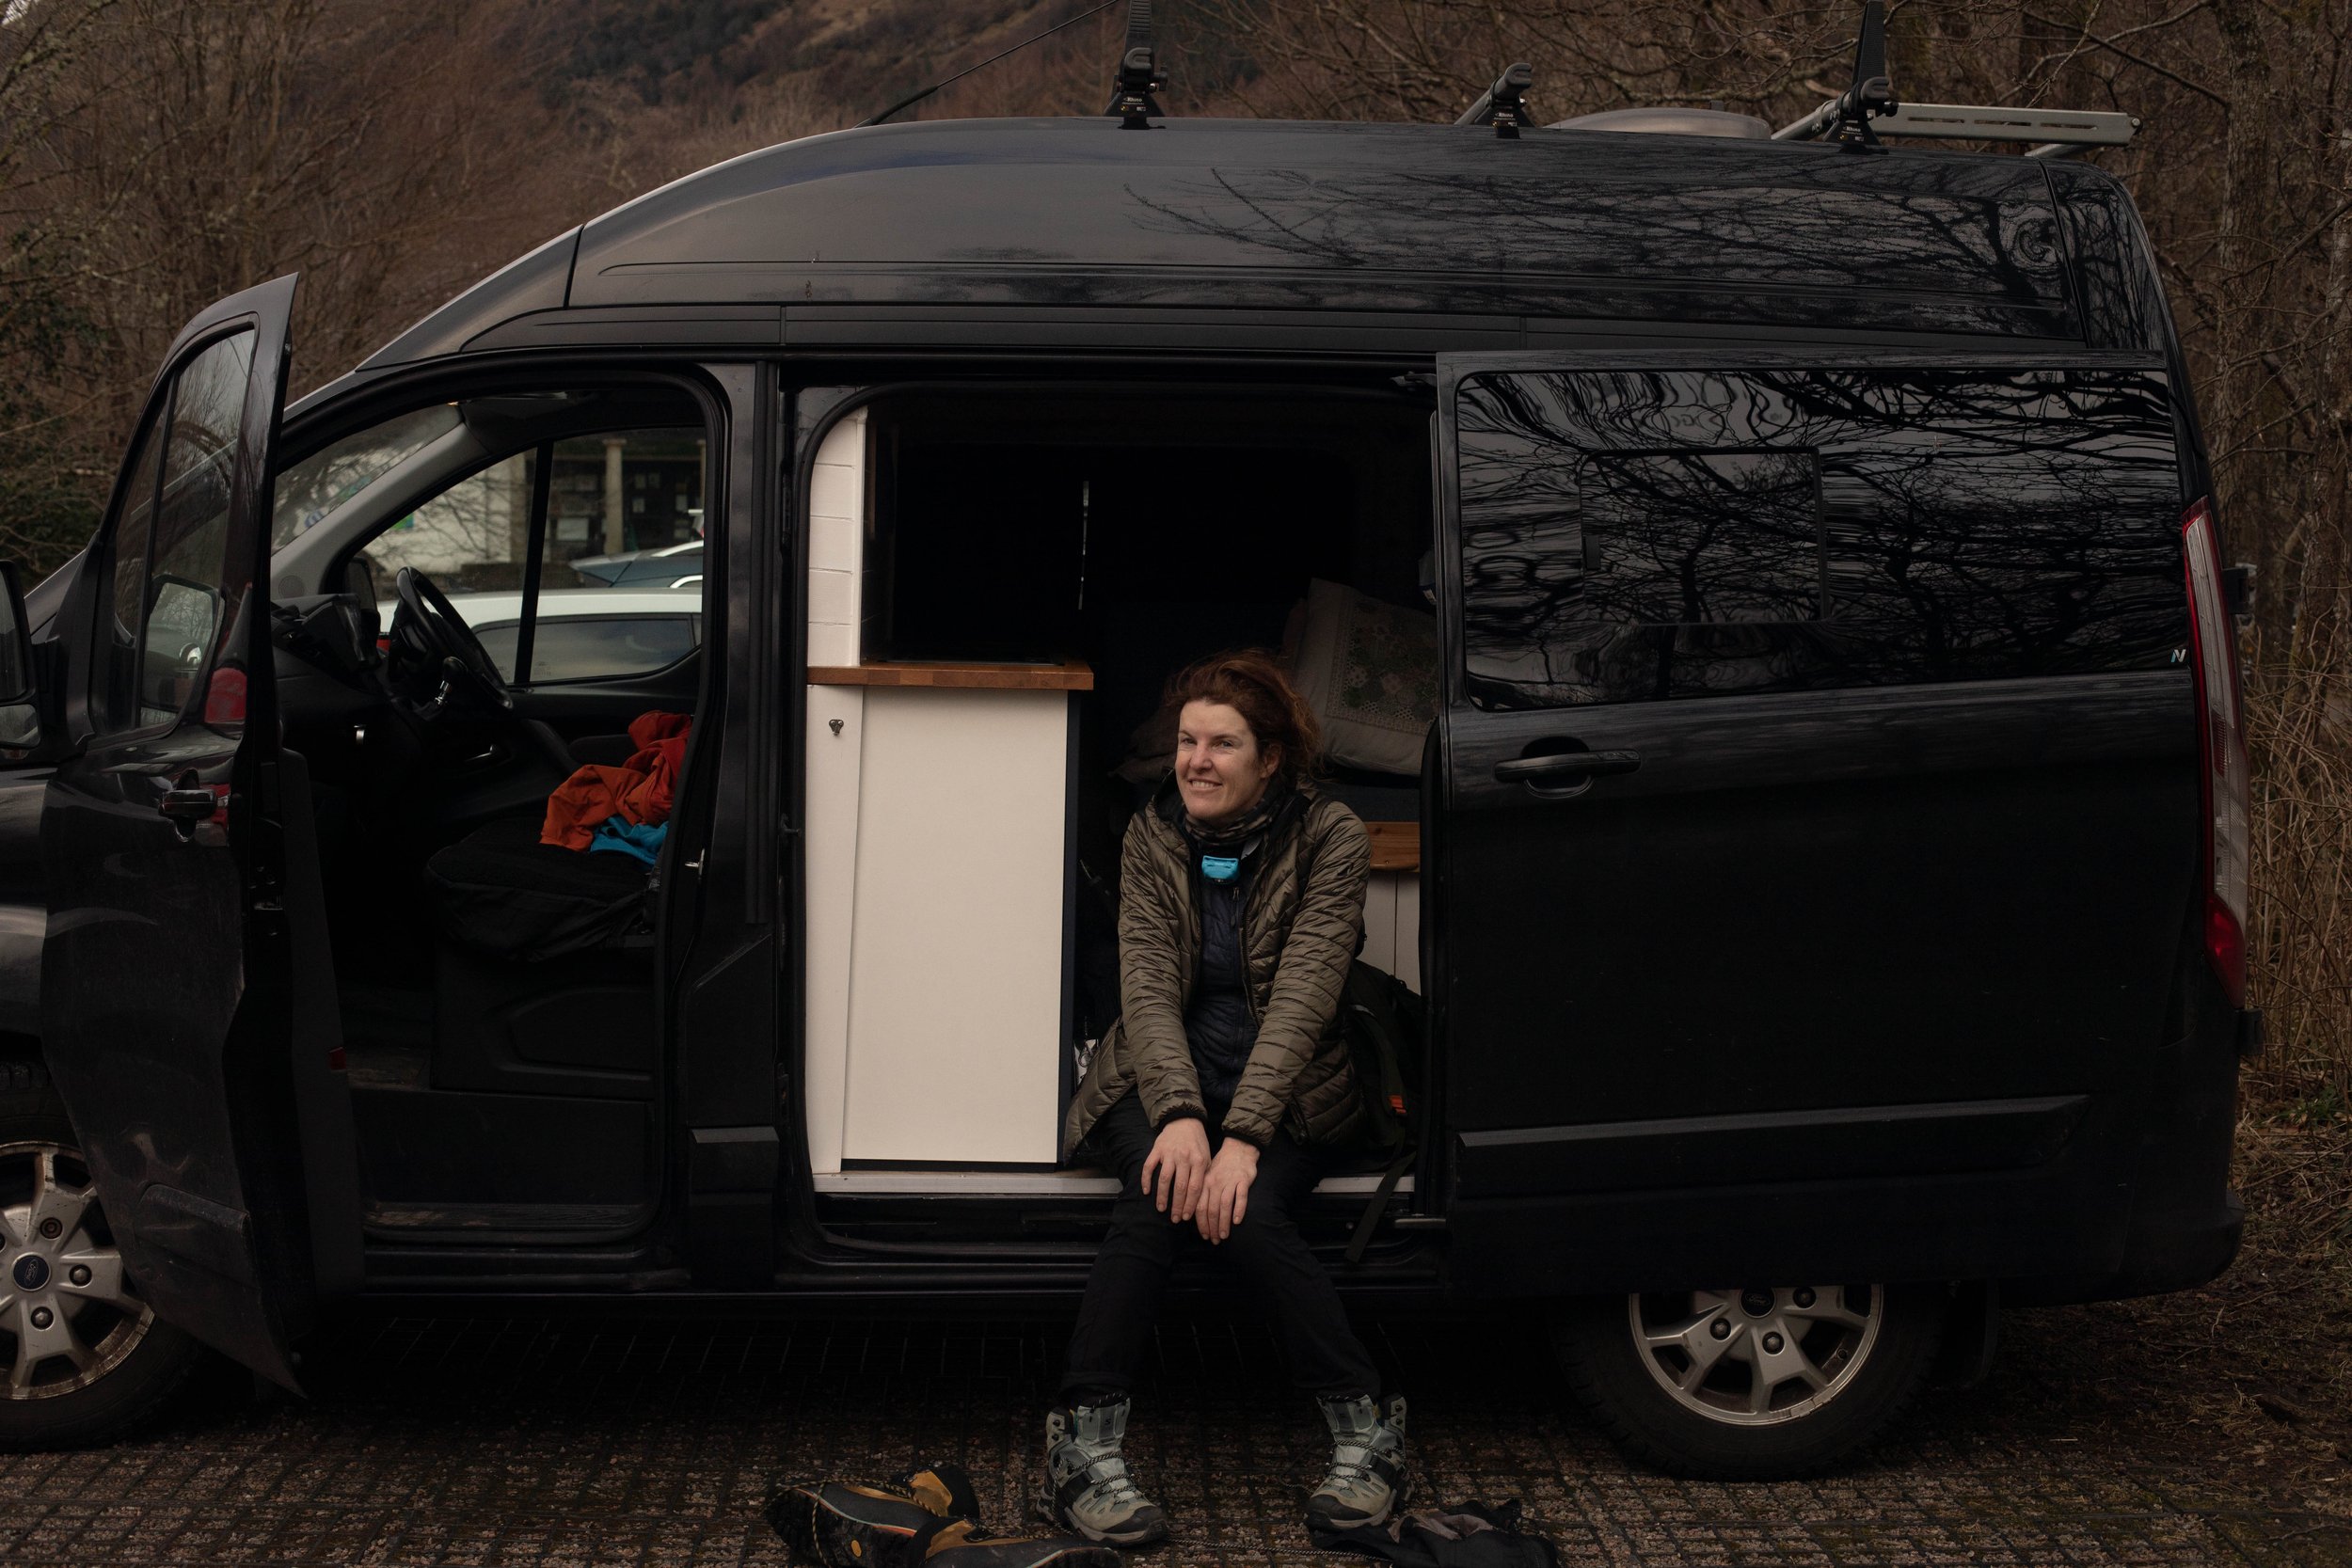
I stayed at the Ben Nevis Youth Hostel — there’s only one — before meeting my guide, Chris, from Raw Adventures at the Ben Nevis Visitor Centre, just down the road.
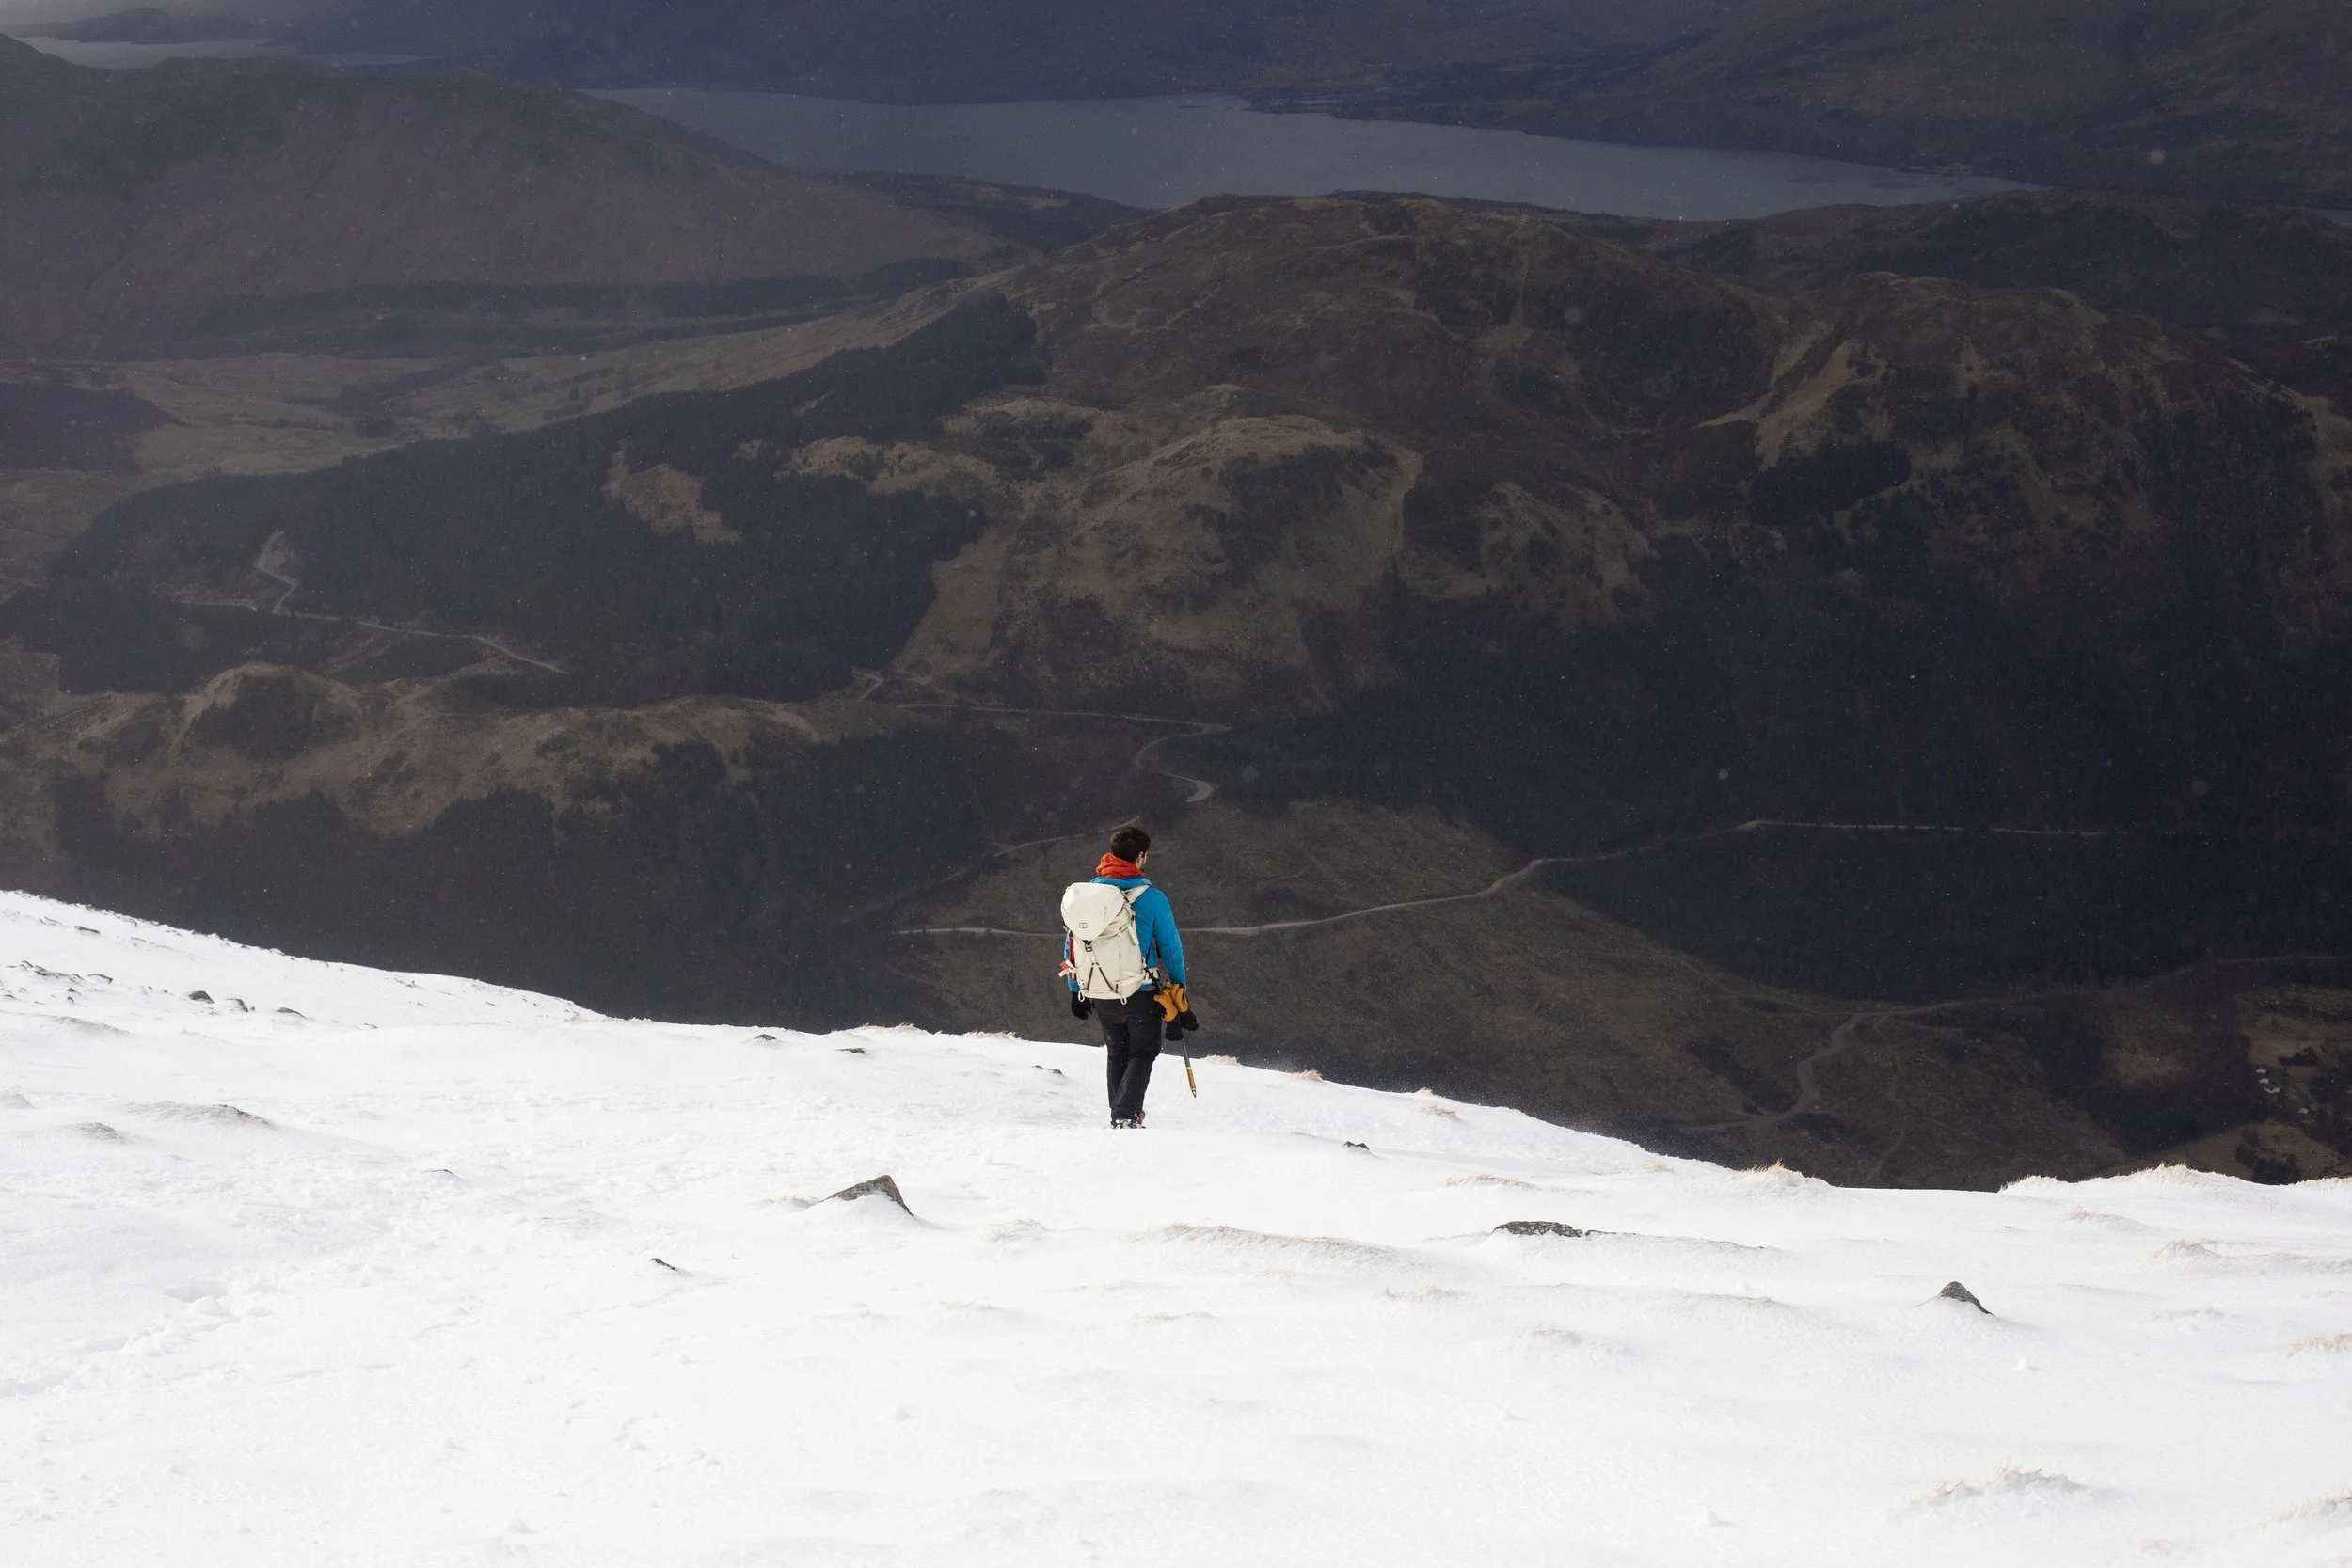
One of the best things about climbing Ben Nevis in winter is that you more or less have the mountain to yourself. That said, there were still around 40–50 people out that day, most equipped with proper mountaineering boots and crampons. Winter ascents aren’t possible without them.
Camera Gear
I brought my camera and a fully loaded phone - and power bank as it does get cold. If you take photos outdoors, it’s important to have extra batteries and preferably, just one lens.
It’s a big climb, so I went with my beloved 1.4 Canon 50 mil prime lens. It’s light and the lens is protected from the elements. It’s such a great lens.. It’s also small- if you’re climbing for like 6-8 hours, things get heavy after a while. I had to carry crampons, drinks and extra layers.
The best way to hike up, is just to have the camera hanging around your neck and then you can take pics without stopping. If it’s raining, a little rain jacket is great, but I didn’t need it. I wrapped the camera into my coat for most of it. I put it away heading down the mountain, when we were ascending.
Snow began around 700 metres. From there, we put on crampons and continued upward along the Mountain Track, still commonly referred to as the Pony Track. While it’s the most straightforward route in summer, in winter it becomes a featureless white slope, with the path completely buried.
Visibility was limited near the summit, with cloud cover rolling in. Without Chris’s navigation skills- using compass bearings rather than relying on a visible trail, I wouldn’t have found the top. In these conditions, it’s easy to stray y close to the north-face cliffs without realising it. We picked up a stray along the way. It was pretty windy up there, and visibly was poor, but hey we made it.
After reaching the summit, we avoided a full descent on the same line, instead taking a steeper shortcut on the way down, snap-climbing sections to descend more efficiently while staying well clear of exposed ground.
Avalanche Awareness
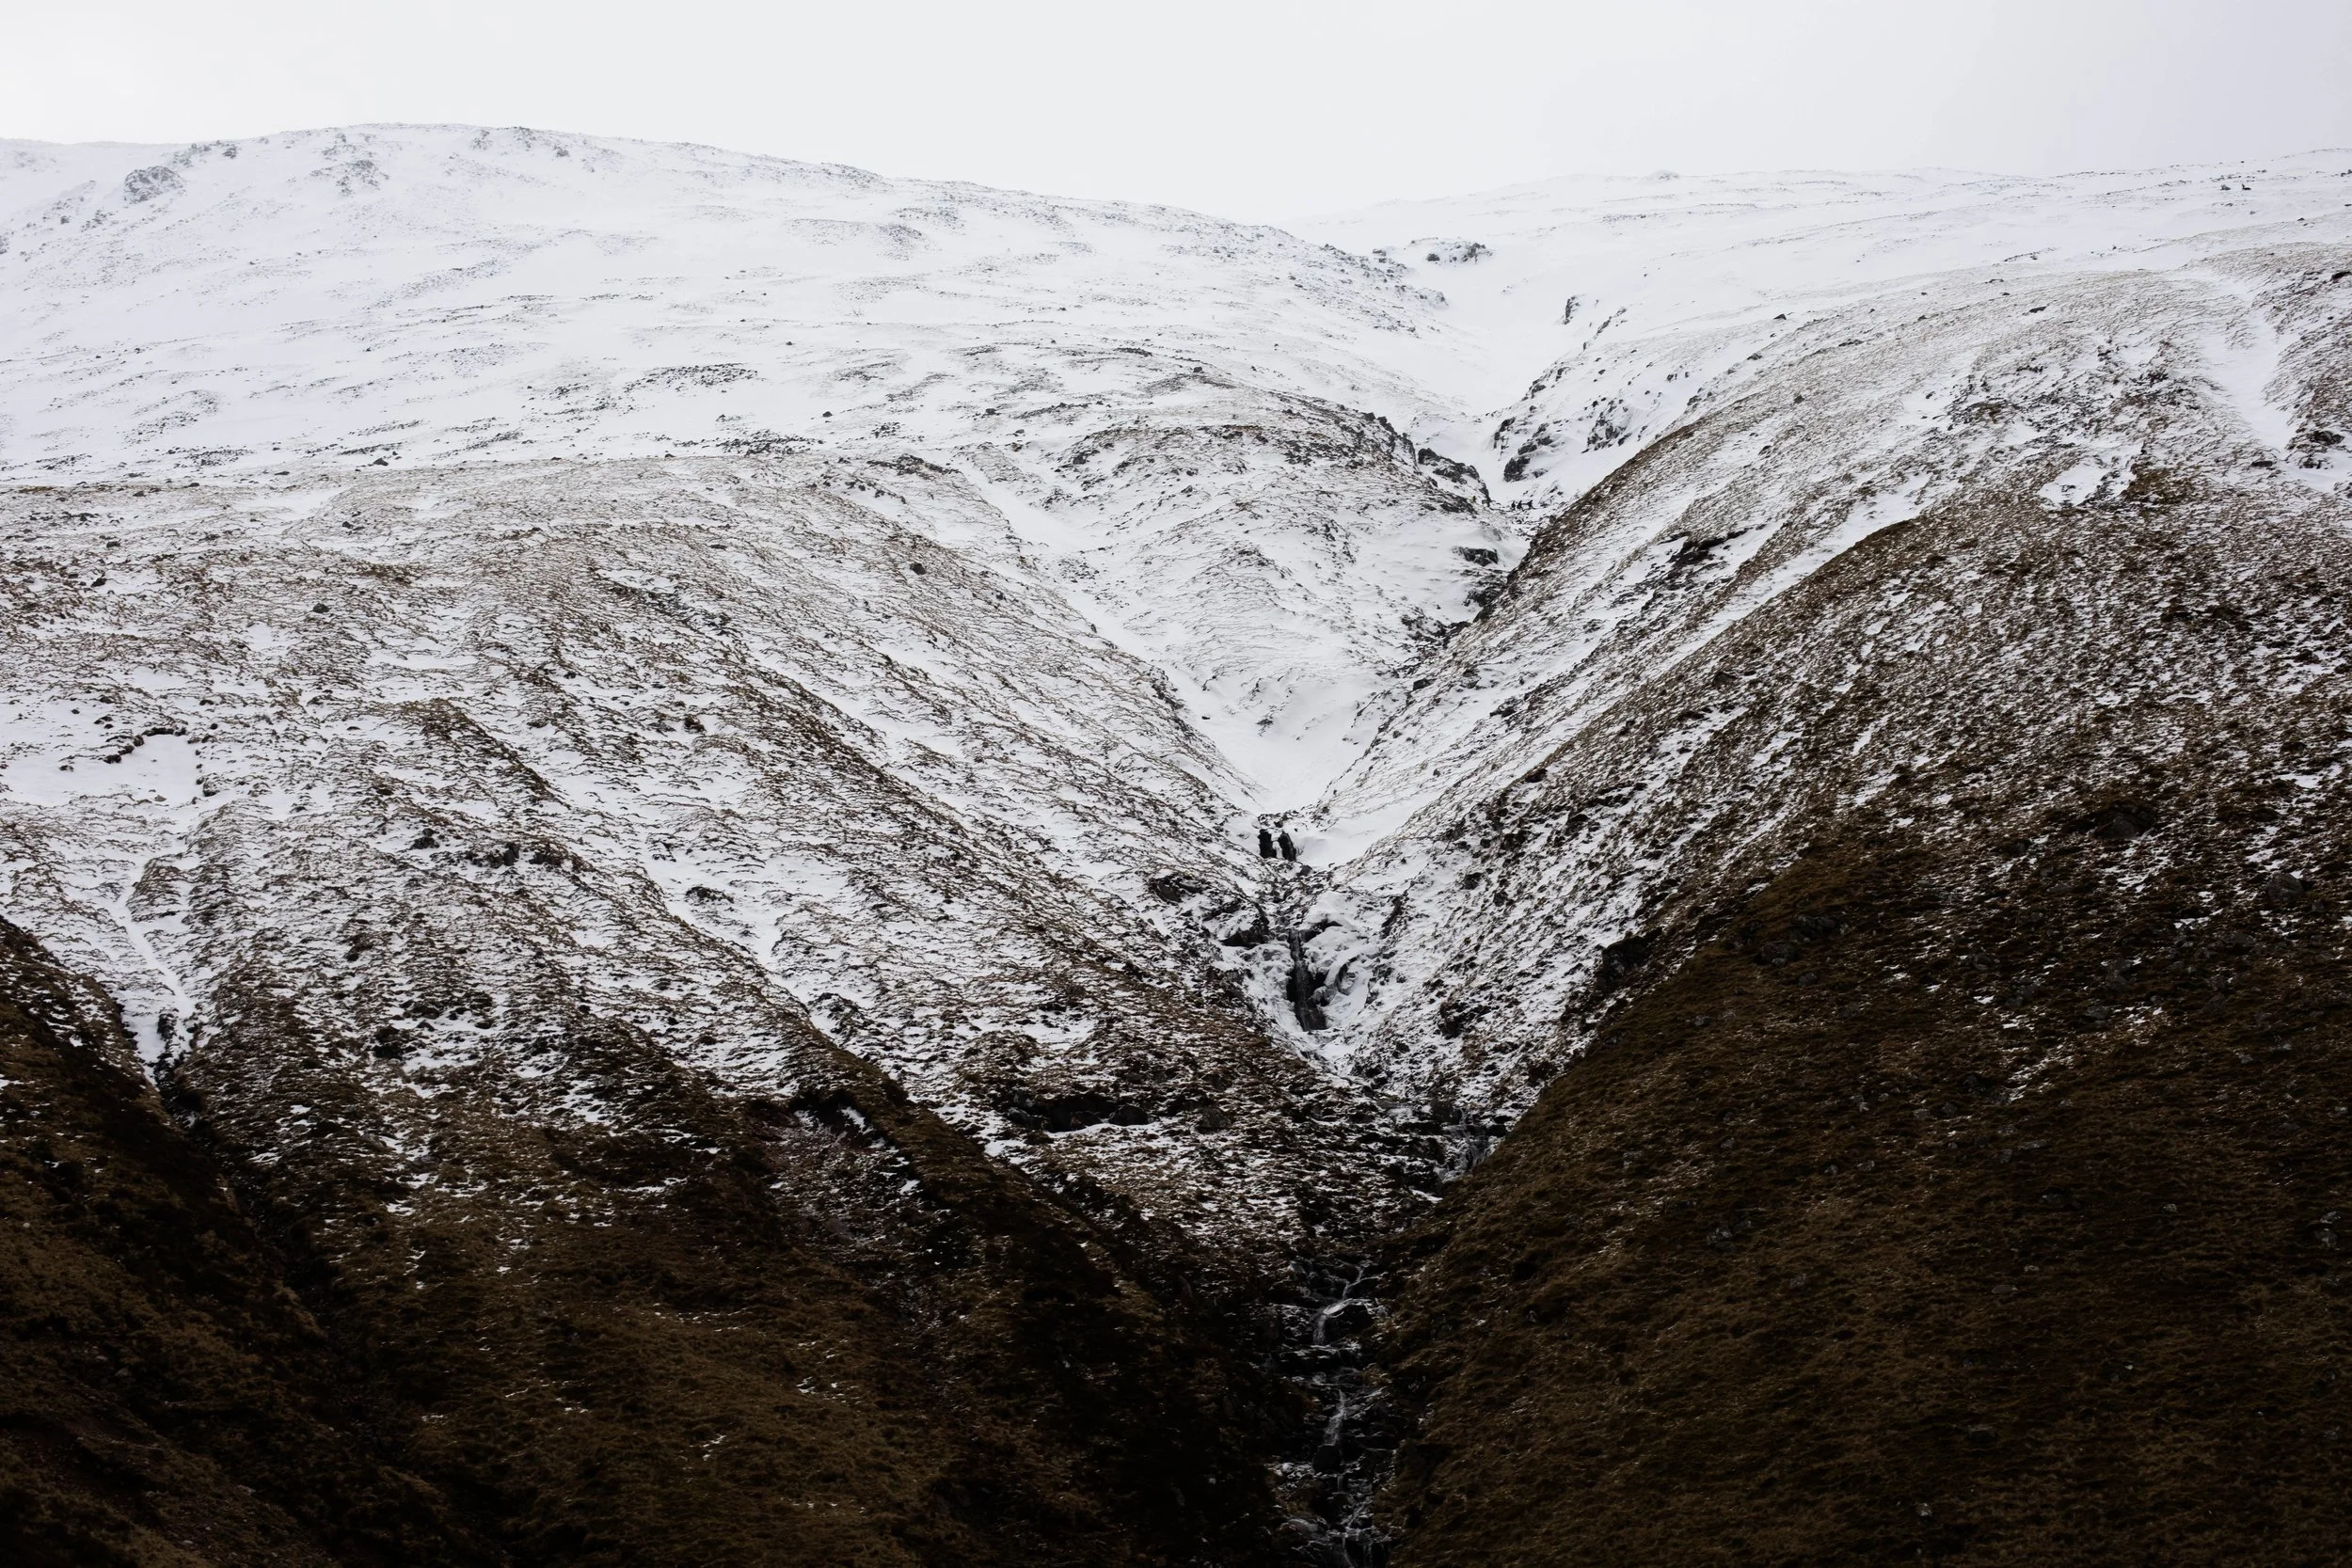
The start of the snow line on Ben Nevis
Along the way, Chris explained avalanche mechanics and risk assessment - knowledge that’s essential on Ben Nevis in winter:
Most avalanches are started by skiers, mountaineers, hikers.
It’s important to check the slab, after snowfall. .Dry slab avalanches can reach speeds of up to 80 mph within seconds and can solidify as hard as concrete.
Most avalanches occur on open slopes between 30 and 45 degrees, especially within 24 hours of heavy snowfall.
Survival rates drop sharply after 18 minutes if someone is buried.
Essential safety equipment includes a transceiver, probe and shovel.
Don’t underestimate Scotland -avalanches happen at 1000 meters too.
Understanding the snowpack, reading the terrain and knowing when to turn back matter far more than fitness alone.
The climb itself has no flat sections, just varying degrees of steepness all the way to the summit. I hadn’t trained much beforehand, because it was PISSING rain in Ireland and I couldn’t get out.
It’s not just a hike, it’s proper mountaineering, even on Scotland’s most “accessible” mountain.
Hiking up Ben Nevis requires the right gear. Good quality outdoor gear and lots of layers.
I wore the following:
Layers- Lululemon leggings, hiking pants from Colombia, Black Diamond rainproof climbing gloves, a rainproof jacket from North Face and a thinner jacket from Decathlon. Layers are the best. I also wore La Sportiva Mountaineering boots and crampons… and a hat. Always bring spares of everything - gloves and hat and an extra jacket.
You don’t really eat much on the way up- but water is great. It was so cold, I had the iciest water ever.. so good. The walk down was easy enough, as we went straight down, ignoring the zigzag of the trail.
Once we got to the bottom, I took my shoes off- oh the joy..
Then I went for a beer. The best part of the day. A great day of mountaineering.. Proving if you want to go climbing in Scotland- there’s no perfect time. It can be calm in winter and Gail force winds in Spring, so just go..
#bennevis #climbbennevis.